Grout Expectations: Reviving Tile with a Simple Solution
We all have projects in our houses that we "live" with because we don't know how to go about doing them, or we don't want to deal with them right now in the interest of time and/or money.

by J.Fred Volk
In the past few weeks, l've spent time improving my home. I'm a long-time real estate agent, but l'm also a long-time homeowner. As both, I can tell you that we all have projects in our houses that we "live" with because we don't know how to go about doing them, or we don't want to deal with them right now in the interest of time and/or money.
So we walk by them day after day. Or in my case, on them.
My significant other, Mona, carefully and repeatedly pointed out the "cruddy, dirty, dark, and ugly" grout in our otherwise modern kitchen. It was original grout from when the house was built 20-some years ago and it showed all the years of use. It looked dirty with the white-ish tile (yes, l'm a man with color descriptions), and it kind of took the room prisoner.
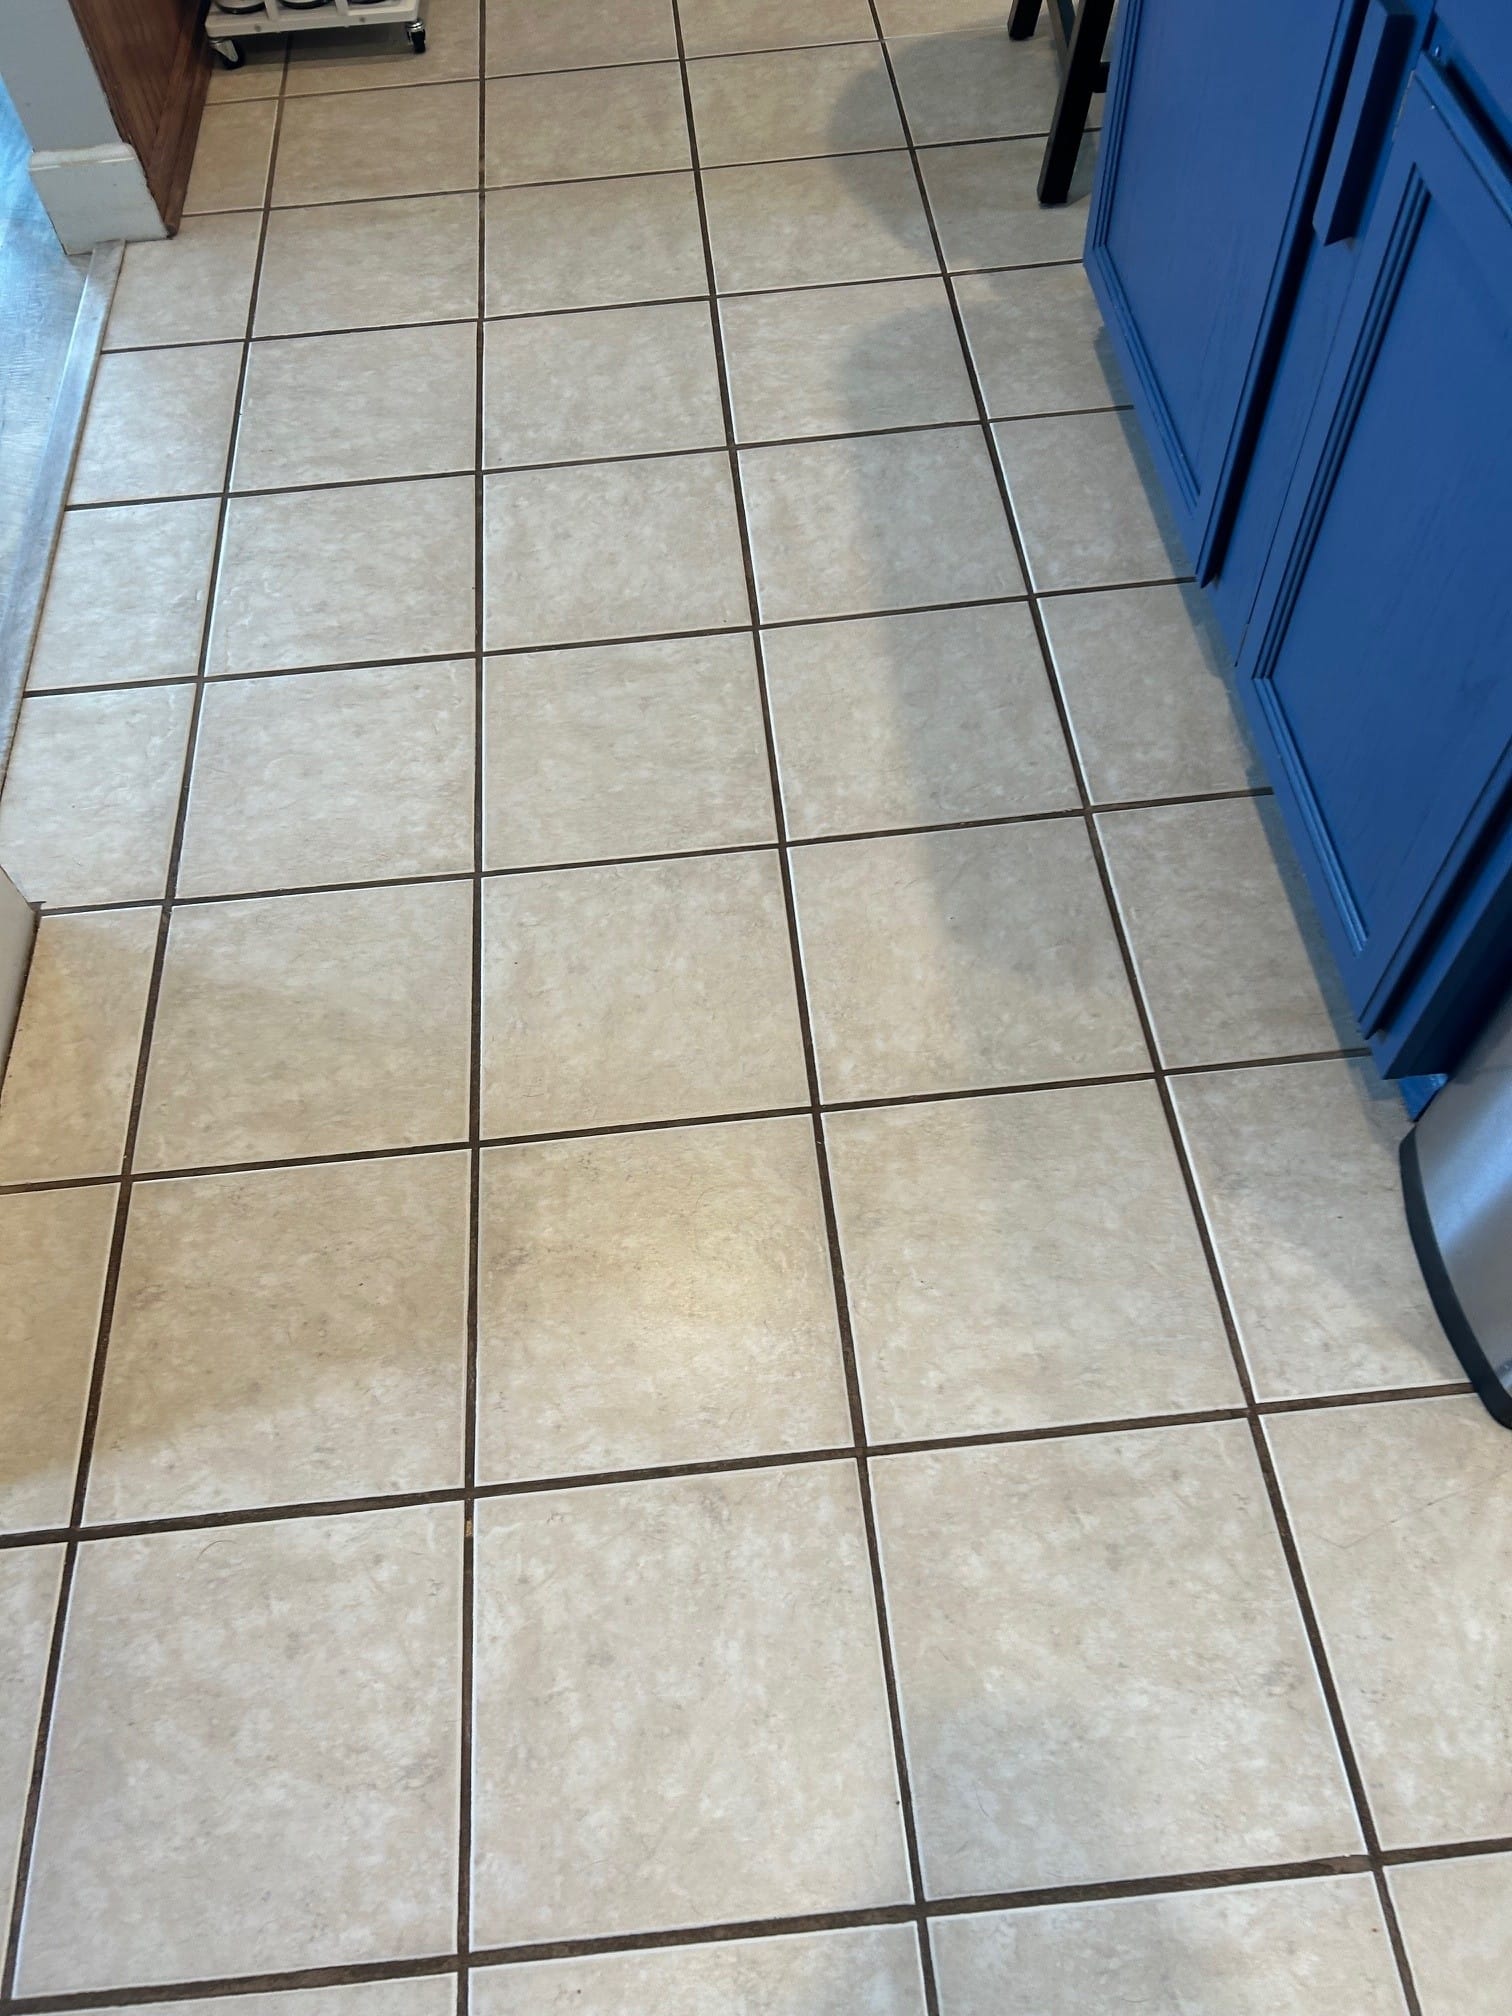
So, being a smart man eager to please my lovely lady, I started to examine my options; albeit grudgingly. I really didn't want to spend a lot of money, i.e. replace the tile and tear up my kitchen. I didn't think cleaning it was going to solve the problem of darker grout in a brightened kitchen. I didn't want to re-grout–too much time and trouble. And, I was frankly tired of ignoring the outdated look.
Then, as I was helping a family member plan one of THEIR projects, I ran across a product called Grout Refresh. This product is, essentially, a grout stain with a variety of colors that you paint on and then clean off 20 minutes later. I skeptically bought a bottle about the size of a small bottle of ketchup to "try".
Folks, this stuff flat transformed the look of my kitchen!
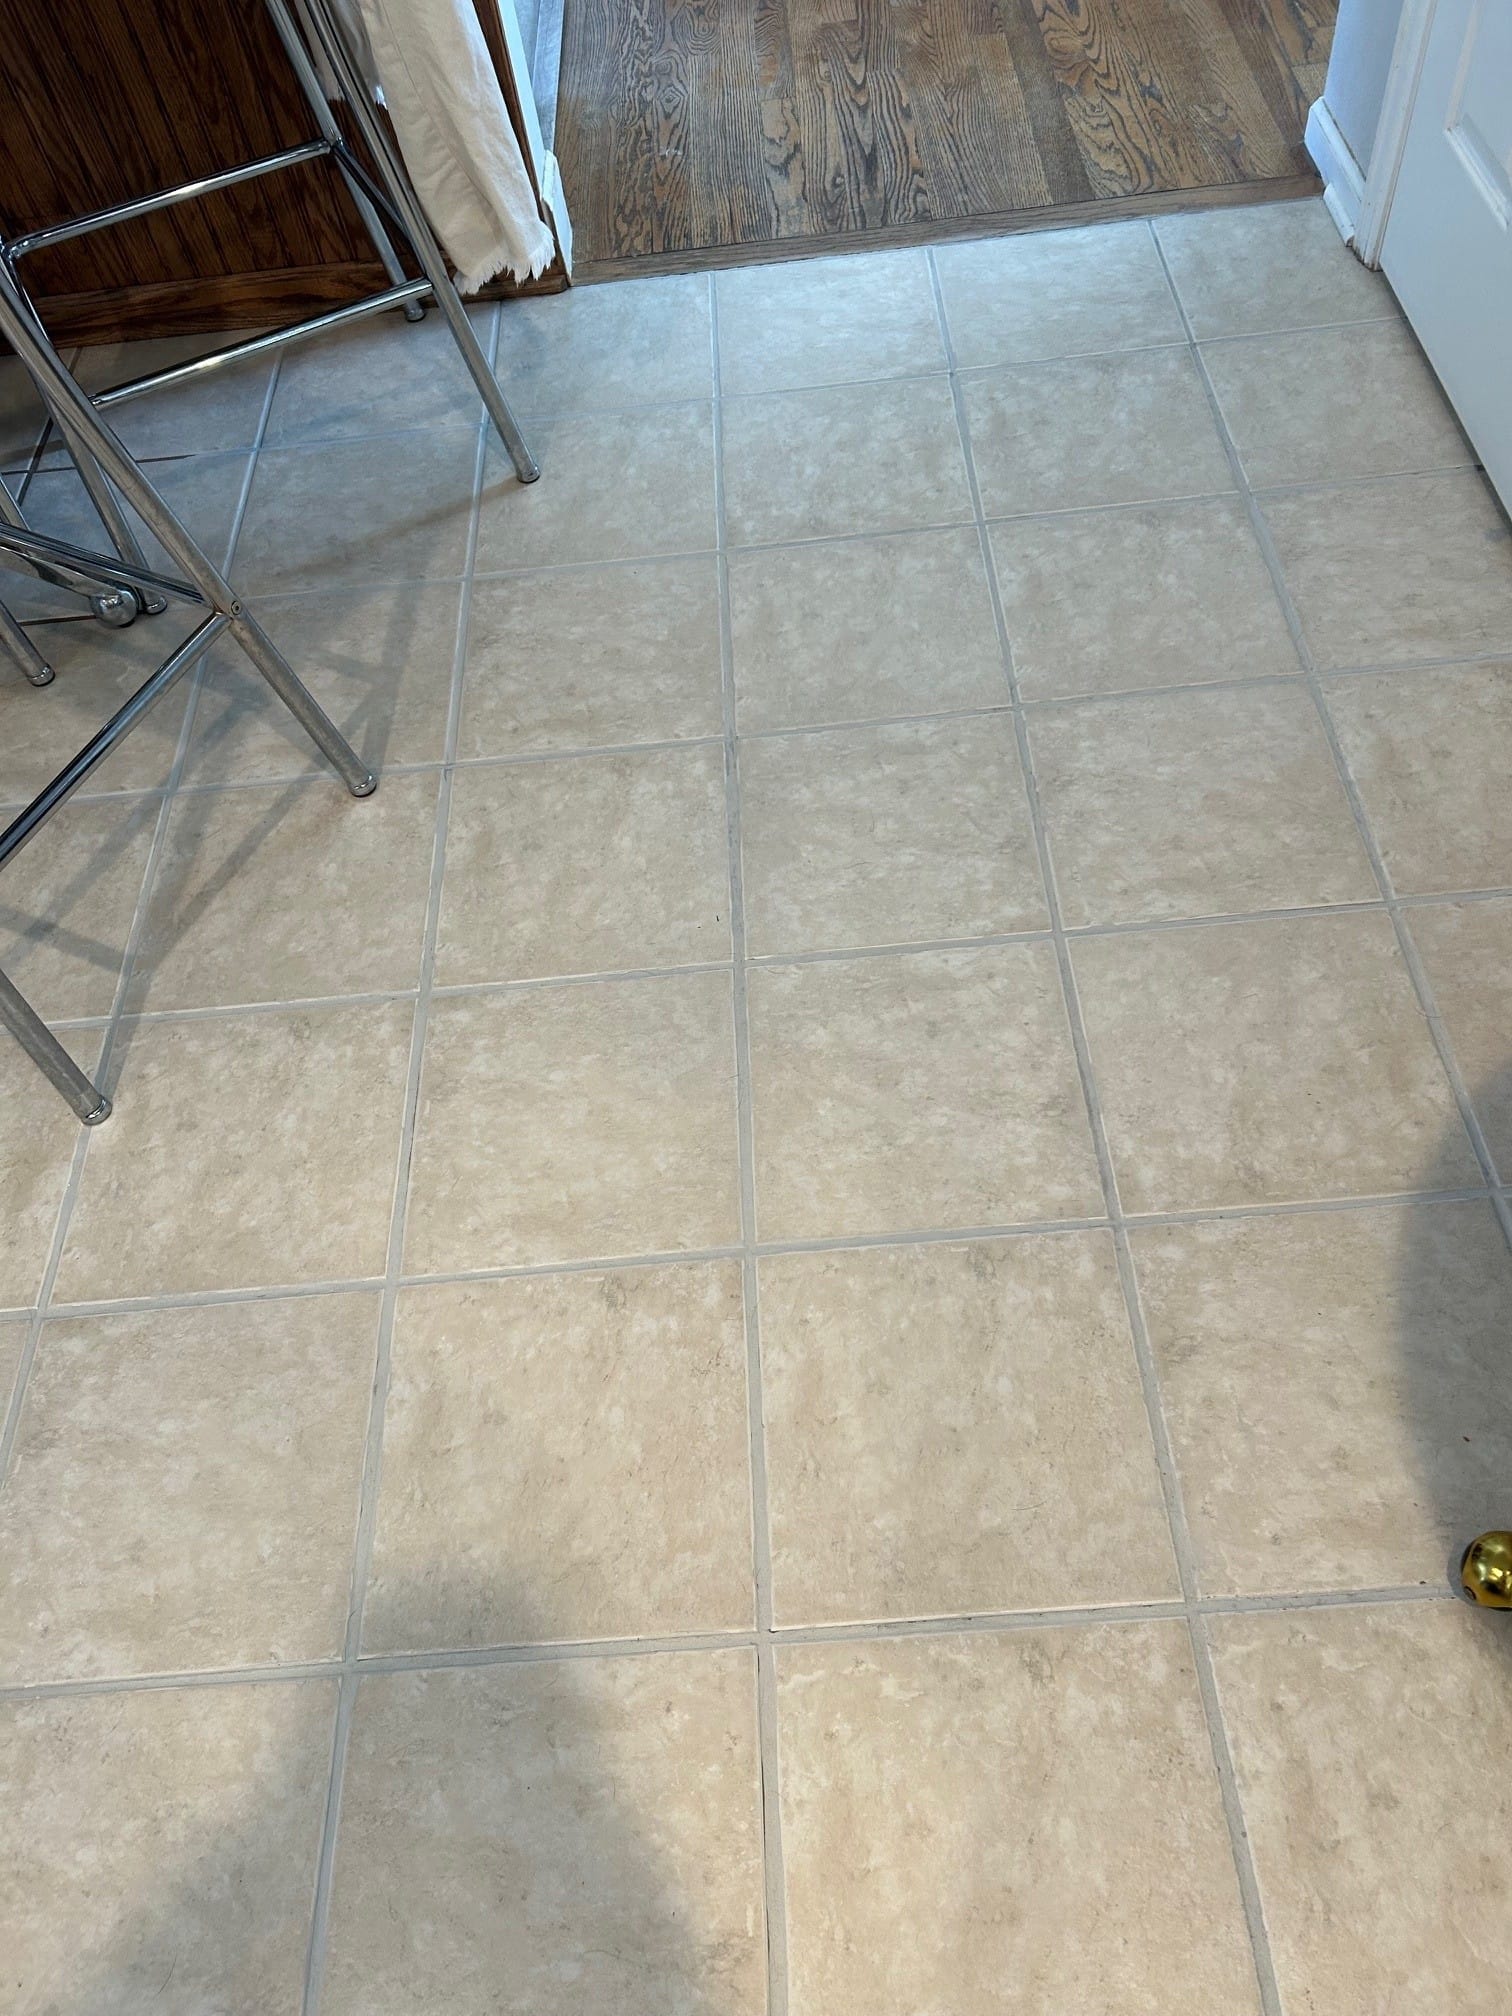
It turns out that this small bottle is more than enough to do a large room. And, it wasn't hard to do in stages over the course of a few weeks– certainly not with the help of a well-intentioned eager woman who REALLY wanted something done.
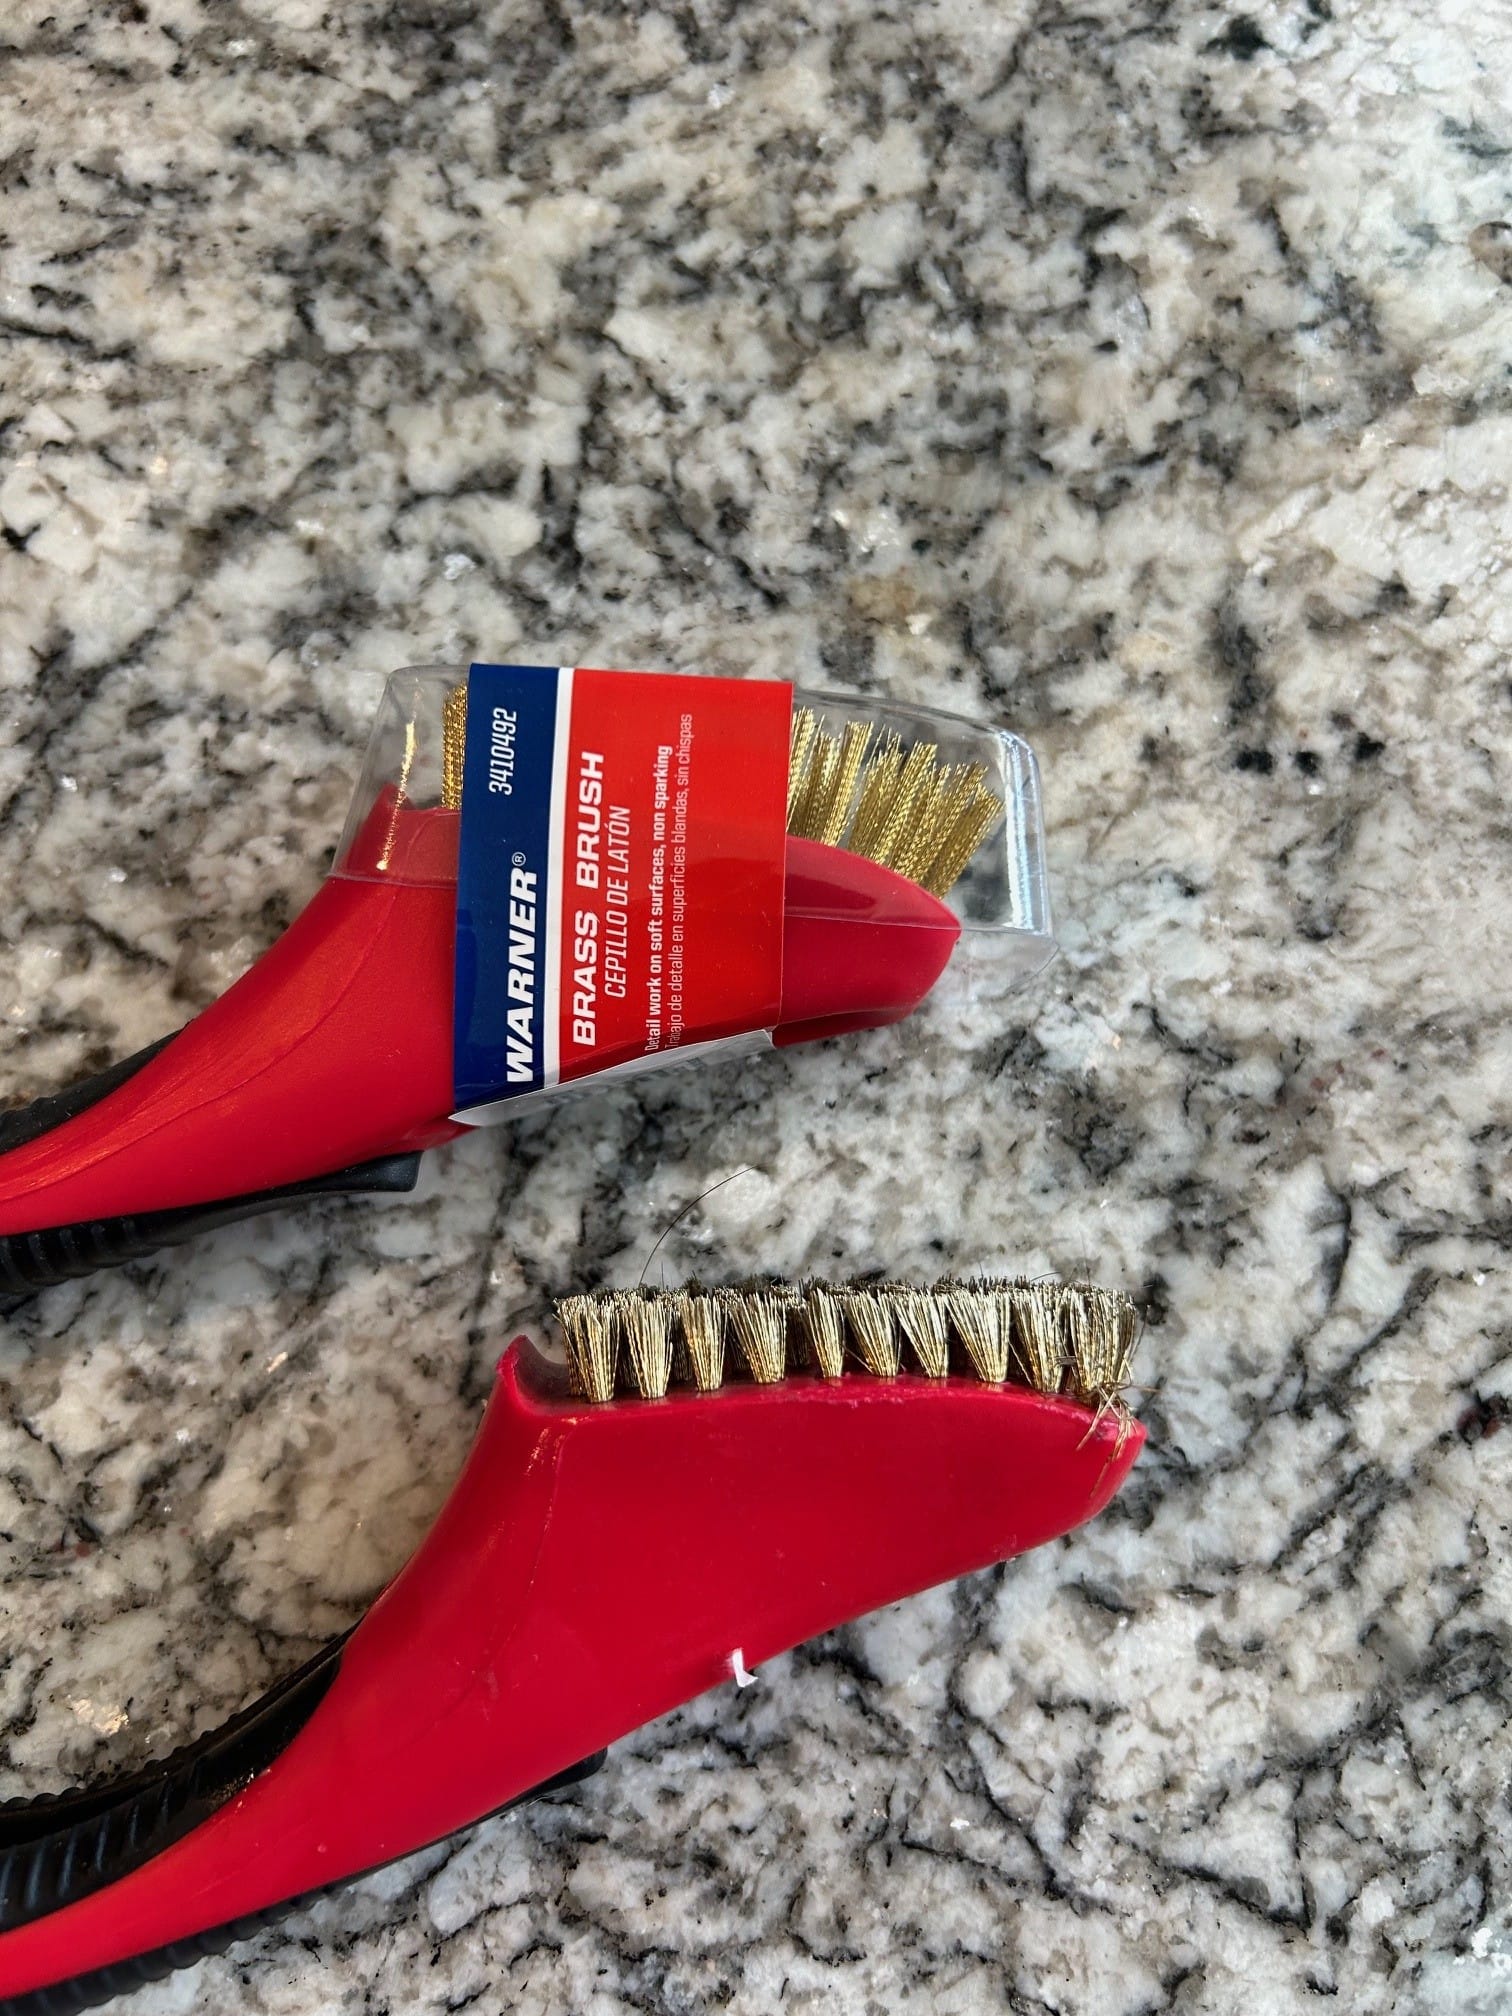
I went with grey because the tile was kind of off-white, and my walls are agreeable grey. Basically, you start by mopping the tile floor to get the surface dirt off. Then, grab a small brass scrub brush and some heavy degreaser mixed with water, and scrub small sections vigorously, wiping up with a towel as you go. On some parts, I let it dry for a bit, and on others, I let it dry for a week.
Next, squirt a small line of the Grout Refresher on the grout and paint it on, working in 5-6 foot sections. I tried using a Q-tip, but that wore out quickly and was too tedious, so I switched to a small paintbrush—it worked much better and cleaned up easily. After 20 minutes, wipe the area with a damp cloth to get the excess off the tile edges. I had to do some touch-ups where the refresher wiped off the grout, but that’s it. It sets up completely overnight.
I’m not done with the project yet, but the end is in sight, and I’m still tackling it in stages. Here are more details and tips for anyone interested in trying this themselves:
Materials to Gather:
- Mop and mop water
- Small bucket or short container-coffee can size
- Heavy duty degreaser (house goods aisle or industrial good store) —this isn't a time to go cutesy smelling or ecofriendly, you want a powerful friend that will take care of business.
- Small hand brush, brass or bronze bristle and about 2" across (paint aisle of store) - get 2 if you have a big floor, I wore one down on half a kitchen
- Latex or nitrile gloves (paint aisle)-optional: this spares your hands and manicure
- Rag/towel (somewhere around your house, or you can buy a box of paper ones in paint aisle)
- Microfiber cloth(s)
- Small paintbrush (paint aisle)-I used 1" bristle, could've used foam
- Kneepads (optional, but you're kneeling on hard tile)
- Q-tip for touch up
- Grout Refresh in your chosen color (big box store, tile area near grout and grouting tools)
Tips & Tricks
- Examine your grout and tile, and take note of the surrounding colors. Snap a picture with your phone to reference when you're at the store—this will save you from any indecision. If you have permeable tile like Saltillo, don’t plan this project. There’s no way to keep the stain from permanently sticking to the tile!
- Head to the store, remembering the items you might need from the list above. In the tile section, near the grout, you’ll find grout refresher in a variety of colors. They may offer additional colors to order, but the 4-6 options in stock should work for most projects. You only need one bottle, no need to get more. Choose a color that complements your space.
- Back home: Mop the entire floor with a simple cleaner to remove surface dirt and pet hair (there’s always more than you think!). While the floor dries a bit, decide where to start scrubbing. Also, grab a drink of your choice—hydration is key!
- Mix a big splash of degreaser with a little warm water in a small bucket. You don’t need much, maybe 2 cups of degreaser and less than a cup of water. The stronger the mix, the easier it is to lift worn-in kitchen dirt. As someone who used to clean commercial kitchens, I can tell you, you want the cleaning product to do most of the work for you.
- Strap on some latex or nitrile gloves, take a deep breath, and have a sip of water (or wine, we don’t judge). Peppy music is always a good idea. This is a big task, but if you break it into 20-30-minute segments, it becomes manageable. It’s going to look messy at times, and that’s okay!
- Start in a corner with your bucket, brush, and towel. This is the most time-consuming part, but it’s doable over the course of a week or so. Dip the brush in the cleaning mix and follow the grout line with long strokes, then go back over it with short, focused strokes. Work in 2-3 foot sections at a time. You’ll quickly get a feel for how much scrubbing is needed. Wipe the grout area with a towel and admire the improvement—this will be your motivation to keep going. Move systematically from section to section. Remember, it doesn’t have to be spotless; it’ll be covered up and will still look good in the end.
- Let the area you plan to refresh dry for at least 30 minutes, or even a week if you’re taking it slow. It’s your project, go at your own pace.
- Now grab your paintbrush and the grout refresher. Moisten a microfiber cloth (it’ll wash out later), and keep a paper towel handy for your brush. Apply a thin stream of refresher on a clean grout section away from the tile edges. You’ll be amazed at how little it takes to cover a large area, so go easy at first. Spread the refresher evenly with the brush. Don’t worry if it gets on the tile edges; we’ll clean that later. I worked in 5-foot sections, doing two at a time before letting it dry. Don’t stress if some gets on your skin, it washes off with water. Let the refresher dry for at least 20 minutes. If you’re feeling ambitious, you can scrub more grout during the waiting period, but no pressure!
- After the dry time, use the microfiber cloth to lightly wipe off the tile edges. Some of the refresher might come off the grout, and that’s fine. For touch-ups, use a Q-tip with a small drop of refresher. Don’t overdo it—the color and coverage will change as it dries and absorbs. Move on to the next section, taking it one step at a time. Remember, this project can be spread out over several days, so don’t feel rushed.
- By the time you’re halfway through, you’ll be amazed at how great it looks and how it changes the feel of the space. Be proud of yourself, but keep going and finish strong!
- When it’s all done, take pictures and share with others to inspire them to tackle those projects we all hesitate to start.